
Pretty Pretty Pancakes
Pancakes have been on my mind a lot lately. Part of it was looking over some of my past posts in search of motivation, but the larger part of it was probably the epic Facebook debate Tiny Doom and I had over the superiority of pancakes or waffles. I am staunchly on Team Pancake. And so I wanted to prove the versatility and superiority of pancakes in a very Ladies of Comicazi kind of way. And so help me, that way is going to be fancy! It's time to do some Pancake Art. *cue awesome power ballad

A word of warning to those who do not cook, if you can’t already make a pancake, you might want to practice first. Not that this is hard in any way, but stove tops can cook at different rates and flipping oddly shaped pancakes can get a little tricky. I know this isn't rocket science, but the ability to tell when you pancake is cooked and ready to flip is going to save you a lot of grief.
In order to make pancakes, you will of course need pancake batter. There are a million recipes out there, but here is the one that is my popular at my house. The trick to making your batter "art ready" is to sift the dry ingredients. This will help you avoid lumps, so if you are using a dry mix where you just add water, it wouldn't hurt to sift that well. And don’t worry, there will be no judging about using mix for pancake art because really, if you were interested in the cultivation and conservation of the perfect pancake, something tells me that making it look like Lumpy Space Princess might not be your highest priority.
After your batter is squared away, it is time to gather your tools. Since pancake batter is rather light, you want a squeeze or sauce bottle that is easy to maneuver. You want to avoid bottles that don’t let you control the speed of the flow or are awkward to work with. Below are two examples. One is the best (and cheapest) one that I have used so far. The other seems like it might work, but there are a few problems with it. The worst part was the angle of the spout. I bought it thinking that might be a benefit, but there were a lot of times when trying to change the angle resulted in drips. Drips are the enemy.

Other than a proper squeeze bottle, you are going to want to choose a pan (preferable non-stick) that is flat, large, and holds heat evenly. You are going to need space to work, and there were a lot times during my trial pancakes where I found myself underestimating how large I was going to need to make my outlines so that lines wouldn't blend together. This is where pancake making experience helps. If you’ve made pancakes in your kitchen before, you probably already have a good idea of which pan and spatula (yes, I had a lot of trial and error finding the right spatula for me) are going to work best for your set up.
Once you pan is heated, you are ready to start drawing. But before you do, here are a few tips to keep in mind:
- Unless you are really familiar with something, it helps to have a photo reference to look at. You can't really go back and erase the lines
- Draw things that are more solid. Too many appendages can make things hard to keep together or flip.
- Work quickly. The lines you have already completed are getting browner and browner while you add your last touches. If you take up too much time, things can burn.
- Your final pancake is going to be a mirror image, so any letters or numbers will need to be drawn backwards or flipped.
Ok, ready to do this thing? Here we go.
1) Draw in your detail work and try to center things in the middle of the pan. The process isn't unlike creating an animation cel or painting the inside of those glass ornaments. The lines that you want people to see will need to be drawn first.

2) Fill in the rest of your pancake using a flood technique. I used the squeeze bottle for this step as well since it helped me fill in every little crevice. You are basically scribbling in the background while allowing the batter to flow into itself.
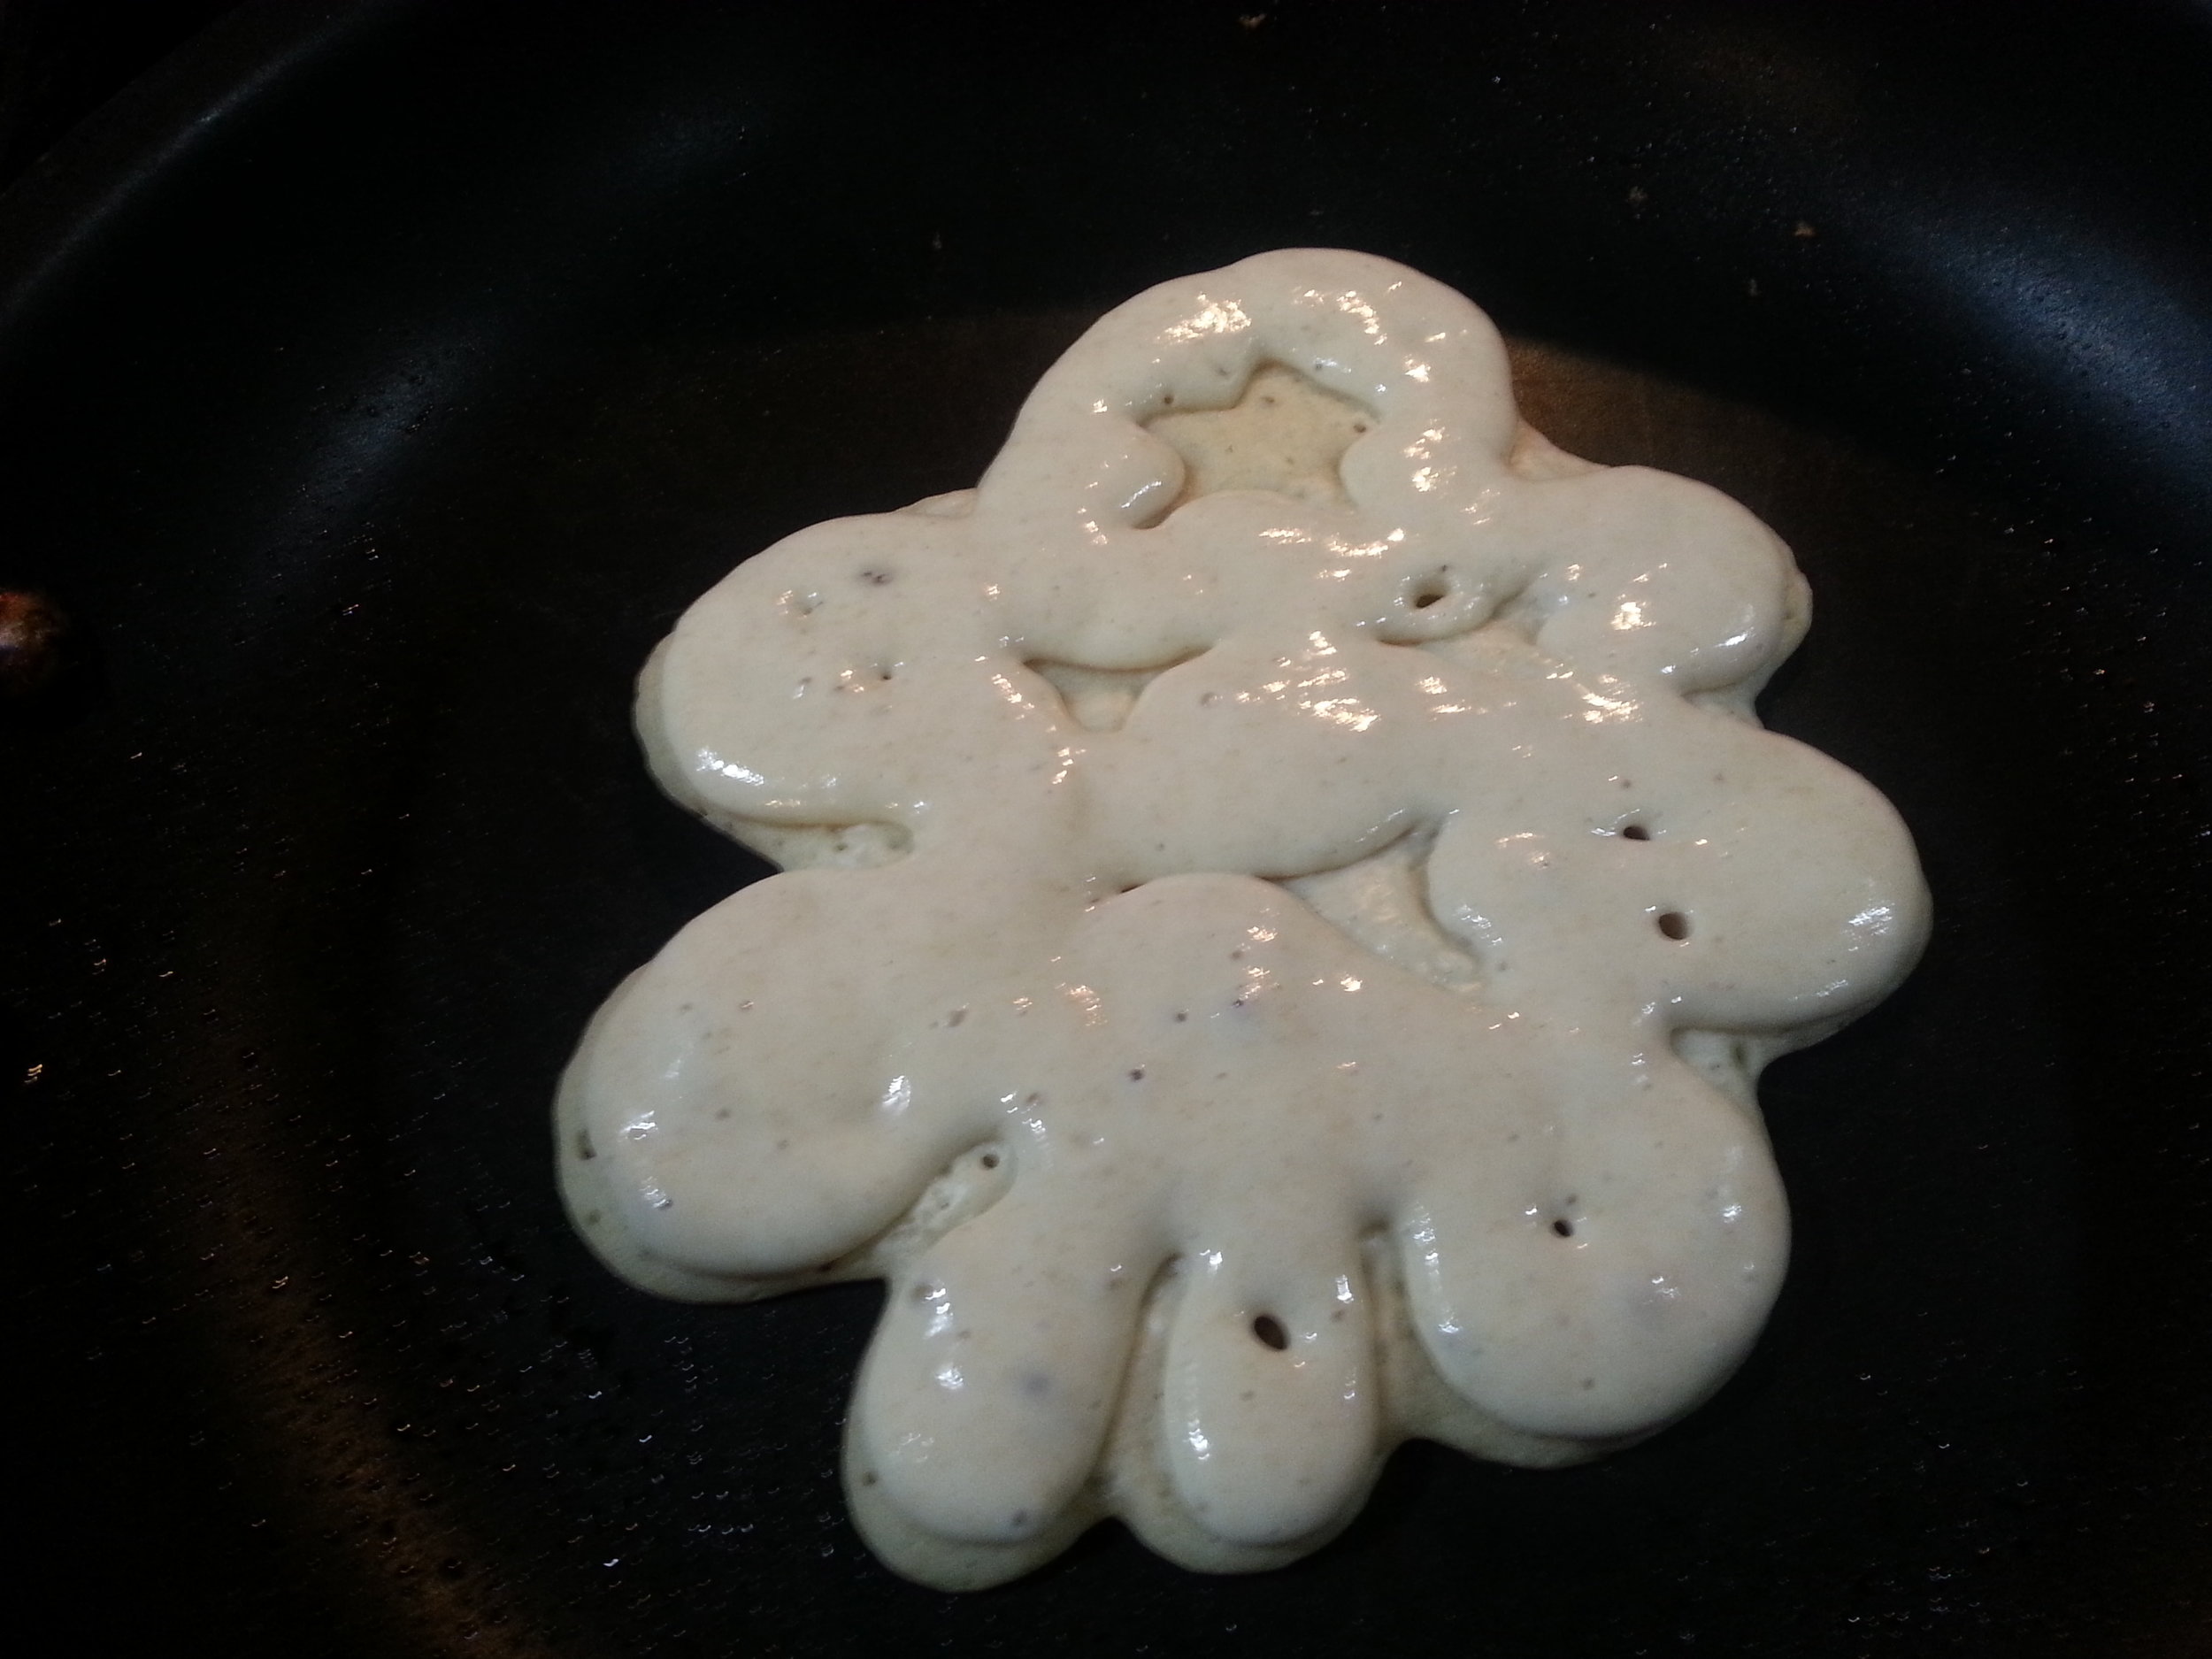
3) Wait a few moments for your pancake to cook. The edges will start to look dry and small bubbles will start to rise. Some people like to lift up a corner to check for browning before they commit to the big flip.

4) Commence bragging. Seriously, post on Facebook, Instagram, call up that high school Guidance Counselor who told you that you would never make a contribution to the world unless you put in some solid effort and inform him/her that you have officially made the world a better place by creating joy. In. Your. Face.
In all honesty though, these are great for sharing, especially if you add it as a finishing touch to a stack of regular pancakes. I will even admit to serving these at a "Breakfast for Dinner" Dinner Party I hosted. I believe they were a big hit, unless my guests lied to me in order vie for that last piece of bacon. *narrows eyes and looks around suspiciously*

So there you have it - a fun and easy project that doesn't require a lot of special equipment to produce a real wow factor. I hope you try it out. Feel free to share your results in the comments section below or even just take a moment to suggest characters and designs for future pancakes. Thanks for reading!