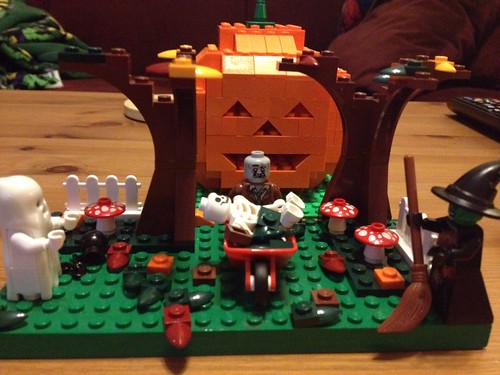
Lego Jack-o-Lantern
Since my first foray into Lego, The Goog and I have been creating seasonal pieces to put on our coffee table. Sometimes we purchase the mini sets that Lego makes, and sometimes we try to create something on our own. Since the fall season and Halloween are favorites for both of us, I wanted to attempt something really cool. Light bulb idea...a Lego Jack-o-lantern. I have orange Lego. I'll find some instructions to help me along. How hard could it be?I think what really meant was how wrong could I be...
Attempt 1- I found a pretty cool looking pattern on Gizmodo. I can even put a light in it. Initial assessment of orange Lego yields not enough...oh so not enough. Of course orange isn't the most popular color in the Lego world, so, off to eBay for a purchase of 242 orange Lego.
Attempt 2- Ok, eBay purchase received. I sit down, feeling much more confident and start building. The diagram is good, but at my Lego level, it's still a bit challenging. Also it doesn't include a piece inventory, so I am really winging it with gathering supplies. Attempt 2 got to about step 4 when I realize yet again, guess what... still not enough orange bricks. Back to the internets to order a few of the Lego pumpkin packs. These little pumpkins packs are about tennis ball sized when completed and helped to provide many of the angled pieces I needed.
Attempt 3- As I said, this was kind of an um “stretch goal” for me. The diagram I am using is helpful, but at my Lego level I could use more steps with a small jump between. No worries, I persevere...until I lost track of the steps and got frustrated because without a base to hold them in place, the bricks aren't very stable and yeah….time to scrap and start over.
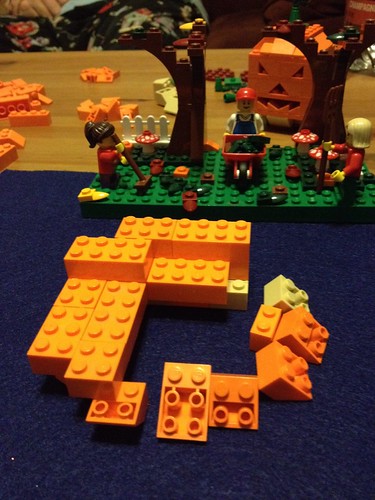
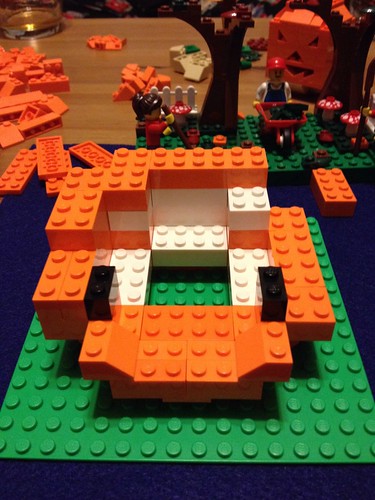
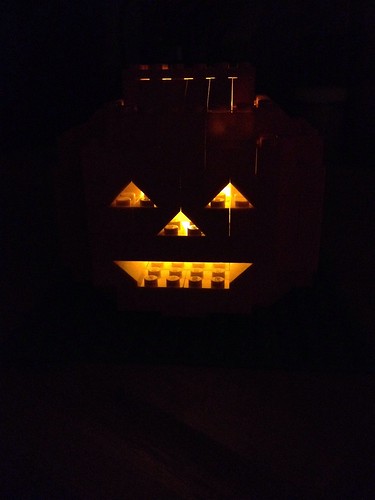
Attempt 4- Enter a more solid base (Thanks The Goog) and a new strategy. I have comes to grips with not having enough orange pieces, so I am using off color bricks in the back and inside. This will be a decoration best viewed from the front, and in the dark, so I'm ok with some compromise (hear that American government?!).
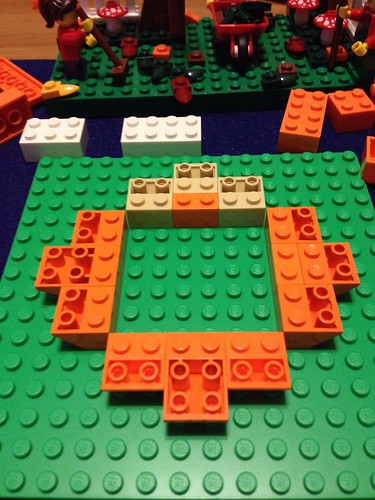
Again, you can see where I decided to use some off color pieces. The below is somewhere in the neighborhood of step 4.
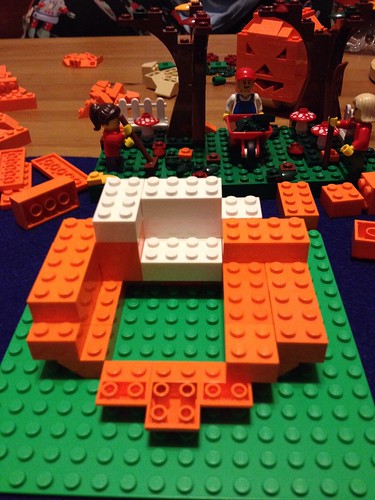
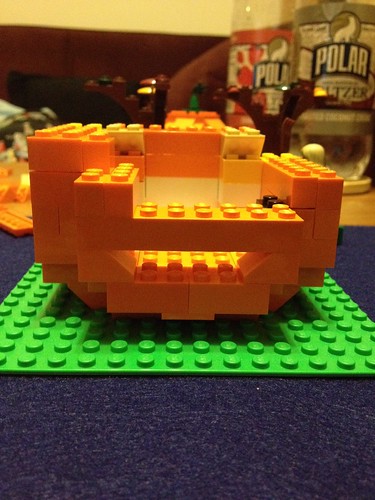

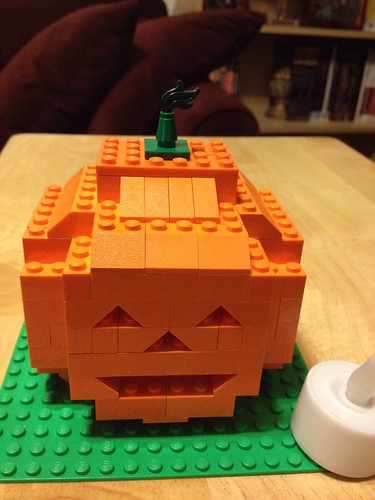
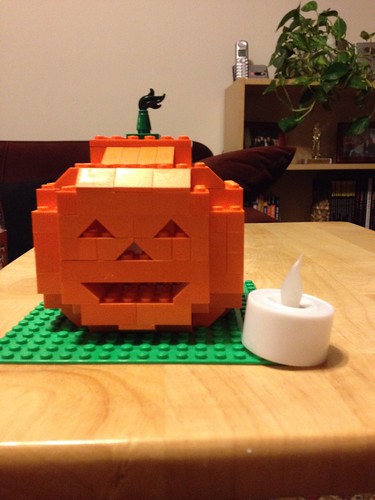
So it was around here that things started to fall apart a bit. I didn't have enough of the right pieces to follow the pattern for the top of the pumpkin. No matter, the important thing is that I was able to close it to contain the light, so I improvised. While it doesn't look as good at the instructions, it works and at least gives some semblance of narrowing at the top. Also I like the little flag top that came from the mini-pumpkin kit.
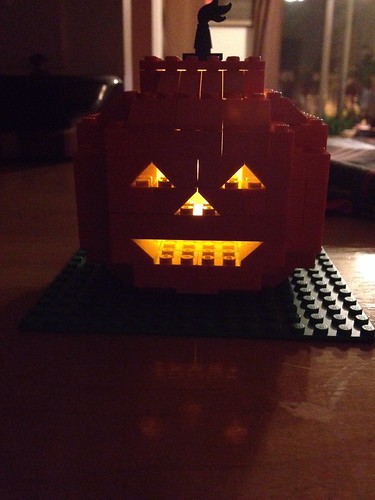
In the end, I'm glad I attempted this build. I definitely learned a few (hard) lessons from it. The first and foremost being, you never have enough bricks. The second being, I don't have the best spatial relation skills, so forcing my brain to work this way is probably good, if not frustrating. And the third....A "Family Fall" Lego scene (as seen above in background of pic #1) can in fact be greatly improved with supplies we have around the house...